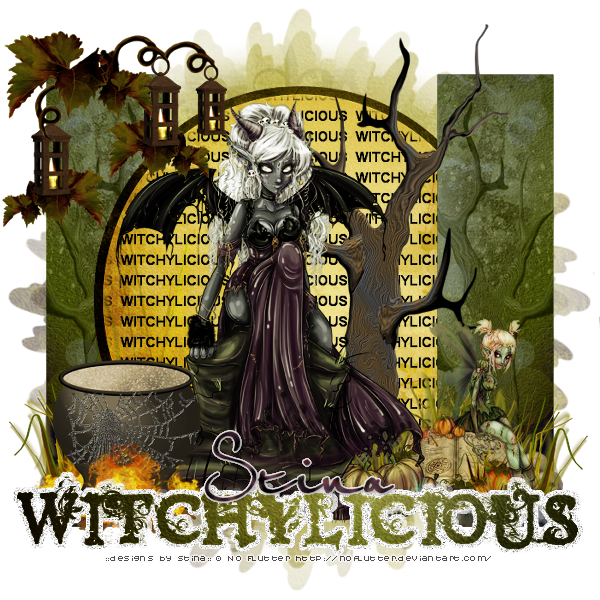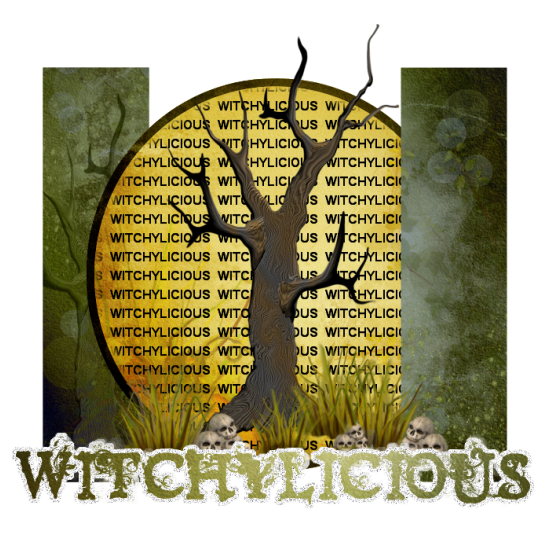
Supplies
Scrap kit of choice - I am using "Pumpkin Haunt" by Tootypup Scraps available from all her stores listed on her blog
Tube of choice - I am using the artwork of NoFlutter
Witchylicious Tag Template by Stormy
Mask of choice - I am using DBV_Masks135
Font of choice - I am using PetraScript
Plugins:
Eye Candy 4000 HSB (optional)
Alien Skin Eye Candy 5: Impact Gradient Glow (optional)
Open the Witchylicious template
Shift + D to duplicate it and close the original
Delete the credit layer and let's begin
Activate Left Rectangle
Selections / Select All, then Float, then Defloat
Paste paper of choice as new layer
Resize by about 70%
Selections / Invert
Delete then deselect
Activate Circle Back
Repeat Selection process
Paste paper of choice as new layer
Resize by 70%
Selections / Invert
Delete then deselect
Then Duplicate and set blend mode to Multiply
Layers / Merge / Merge Down
Repeat if necessary for a dark border
Activate Circle Front
Repeat Selection process
Paste paper of choice as new layer
Resize by 70%
Selections / Invert
Delete then deselect
Activate Right Rectangle
Repeat Selection process
Paste paper of choice as new layer
Resize by 70%
Selections / Invert
Delete then deselect
Activate Word Art (the blue layer)
Repeat Selection process
Paste paper of choice as new layer
Resize by 60%
Selections / Invert
Delete then deselect
Duplicate then set blend mode to Multiply
Layers / Merge / Merge Down
Remove the Bat Hearts unless you wish to use them but for this tutorial we aren't
Paste TP_Halloween_03 as new layer
Resize by 70% and move it just off centre but position so it is tucked slightly behind the Word Art Glitter layer

Paste TP_Cauldron_05 as new layer
Resize by 27% and position to the left of the tree
Paste TP_GRass_03 as new layer
Resize by 20% and position to the lower right beyond the skulls to fill in
Duplicate, then Image / Mirror and position behind Cauldron
Paste TP_Lanterns_01 as new layer
Resize by about 35% and position on the upper left rectangle
Back on top layer
Paste TP_BooksOfSpell_01 as new layer
Resize by 20% and position in lower left
Paste tube of choice as new layer
If you are using the same as me, resize it by 70%
Then Duplicate it and hide layer
On the original layer go to:
Adjust / Hue and Saturation / Colourise
Set both to 0
Select your Change to Target brush with the following settings:

Set your foreground colour to #5a5f35
Now carefully run your brush over the tube
Unhide the duplicate layer and set blend mode to Soft Light
I also used another tube by the same artist
Resized it to around 35% and positioned it on the book of spells
On the bottom layer paste a paper of choice
Apply a mask of choice - I am using DBV_Masks135
Layers / Merge / Merge Group
Resize tag to 600 x 600
Select a font of choice - I am using PetraScript
Type out your name and add any effects you wish
I used Eye Candy 400 HSB Noise with default settings and added a Gradient Glow
Now add your credits and you're done!
Thank you for trying my tutorial
© Tutorial written by Stina on 29th October 2011

No comments:
Post a Comment