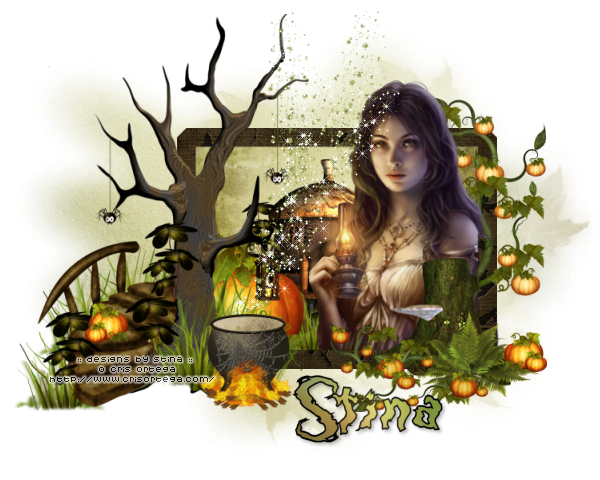
Supplies
Scrap kit of choice - I am using "Pumpkin Haunt" by Tootypup Scraps available from all her stores listed on her blog
Tube of choice - I am using the lovely artwork of Cris Ortega
Mask of choice - I am using WSL_Mask7 and WSL_Mask328
Font of choice - I am using Darkwood
Plugins:
Alien Skin Xenofex 2 Constellation
Eye Candy 4000 HSB (optional)
Open a new transparent image 700 x 600
Paste TP_FramePlain01 as new layer
Resize by 50%
Paste TP_Halloween05 as new layer
Resize by by 50%
Position to the left of the Frame
Select inside the Frame with your Magic Wand
Selections / Modify / Expand by 10
Paste a paper of choice as a new layer and place beneath the frame
Resize paper by 40%
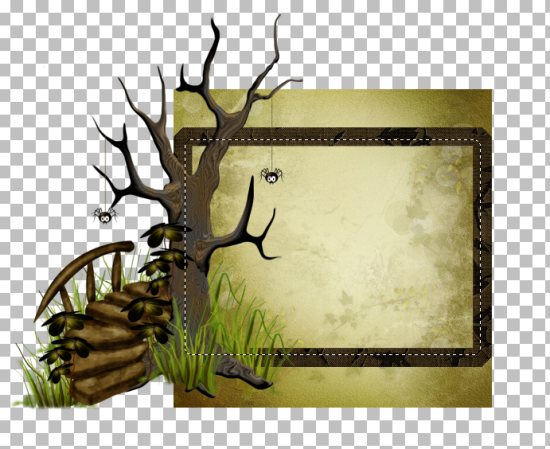
Selections / Invert
Delete
KEEP SELECTED!!
Paste TP_Halloween_07 as new layer
Resize by 37%
Position toward the centre of the frame
Paste TP_Pumpkins_05 as new layer
Resize by 25%
Position in the corner of frame over the steps of the little house
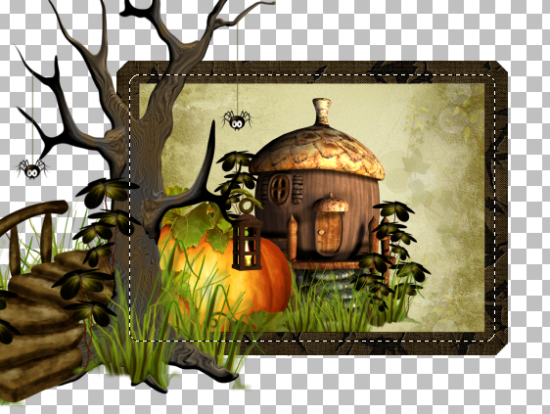
Delete then deselect
Back to the top layer
Paste TP_Cauldron_5 as new layer
Resize by 16% and position at base of the tree
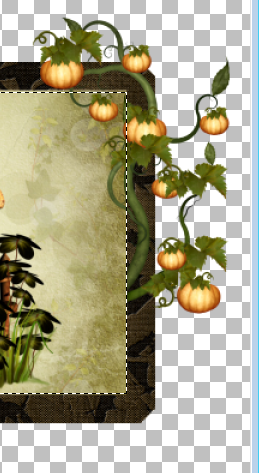
Paste TP_PumpkinVine_02 as new layer
Resize by 25%
Position in upper right
Select the inside of the Frame with your Magic Wand again
Then with your Eraser Tool erase just the excess vine at the bottom
Paste TP_MagicTreeStump_01 as new layer
Resize by 37% and position to the lower left of frame
Paste TP_Pumpkins_02 as new layer
Resize by 7% and position on steps
Duplicate, then Image / Mirror
Position at the edge of tree stump
Paste TP_Stardust_02 or one of choice as new layer
Resize by 50%
Position from top of Cauldron
Paste a tube of choice as a new layer
I am using the lovely artwork of Cris Ortega
If you are using the same as me Mirror the tube and position to the right
Duplicate it and move to below the Frame layer
Now grab your Freehand Selection Tool on Point to Point with feather set to 0
Carefully draw around where the tree stump is
(hide the top tube layer if you need to see the stump)
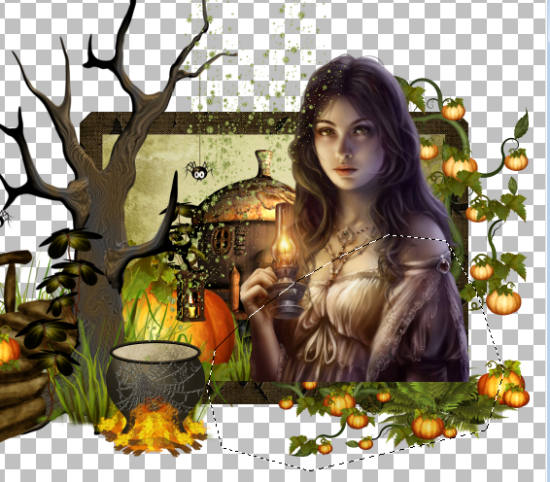
Now paste a paper of your choice as a new layer and move to the bottom
Apply a mask of your choice
I used two masks for my effect and played with the opacity to blend them together
Layers / Merge / Merge Down
Back to your top layer
Select a font of your choice and type out your name
Add any effects you wish - I used Eye Candy 4000 HSB Noise on default settings
Then add a drop shadow
Add your credits etc.
Continue for animation.....
First of all, add a white background to your canvas
Activate your Stardust layer and duplicate twice
Rename Stardust 1, Stardust 2 and Stardust 3
Hide 2 and 3 and activate Stardust 1
Effects / Plugins / Alien Skin Xenofex 2 / Constellation with the following settings:
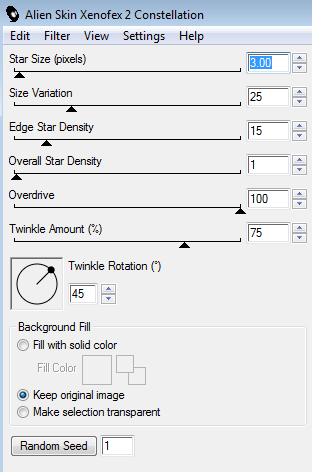
Hide Stardust 1 and activate Stardust 2
Repeat the Constellation effect adjusting only the Random Seed to your liking
Hide Stardust 2 and repeat with Stardust 3
Hide Stardust 2 and 3 once again
Activate Stardust 1
Edit / Copy Merged
Open Animation Shop
Paste as new animation
In PSP
Hide Stardust 1 and activate Stardust 2
Open Animation Shop
Paste after current frame
In PSP
Hide Stardust 2 and activate Stardust 3
Open Animation Shop
Paste after current frame
Select all
ALT + Enter to open Frame Properties
Change to 20
Save as a GIF and you're done!
Thank you for trying my tutorial!
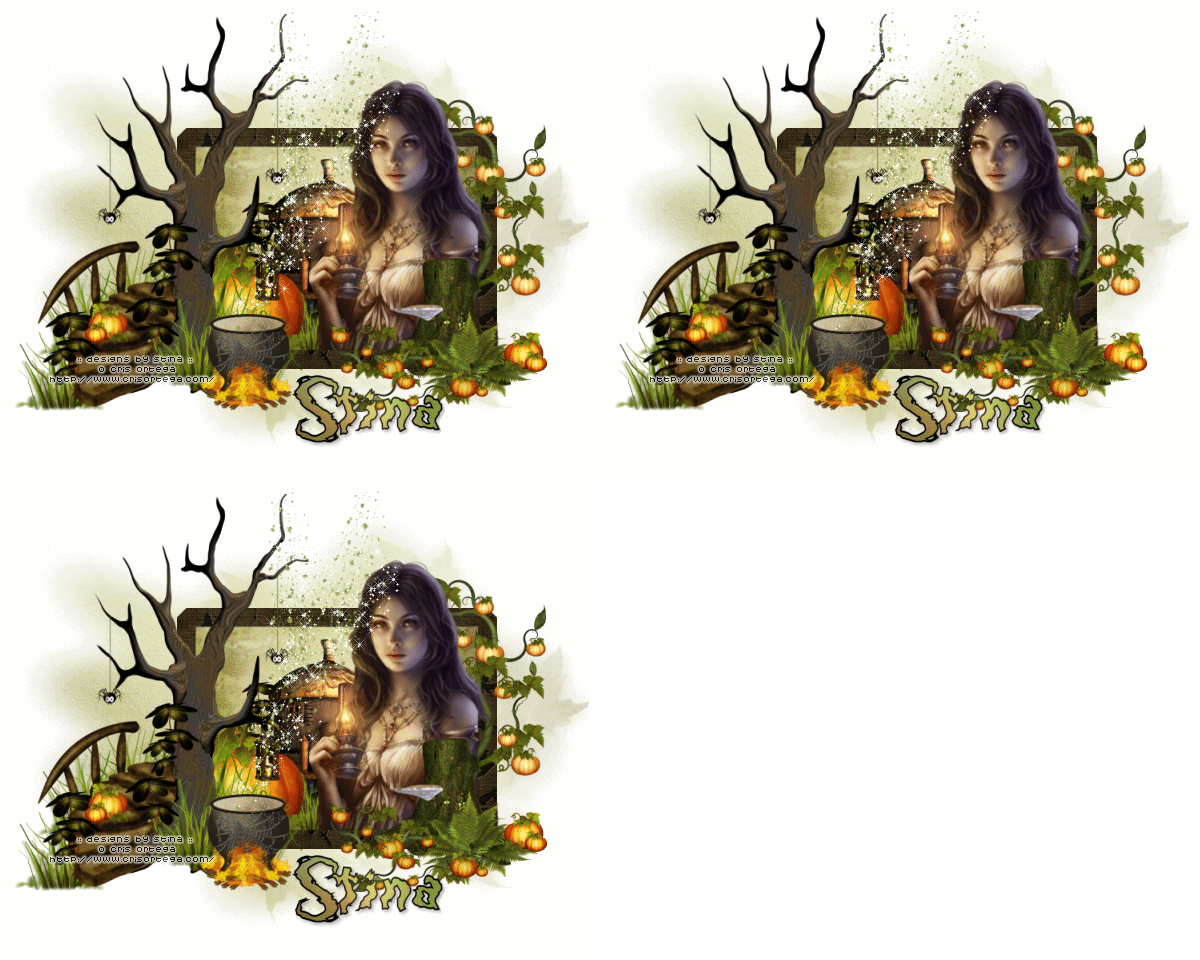
The animated version:
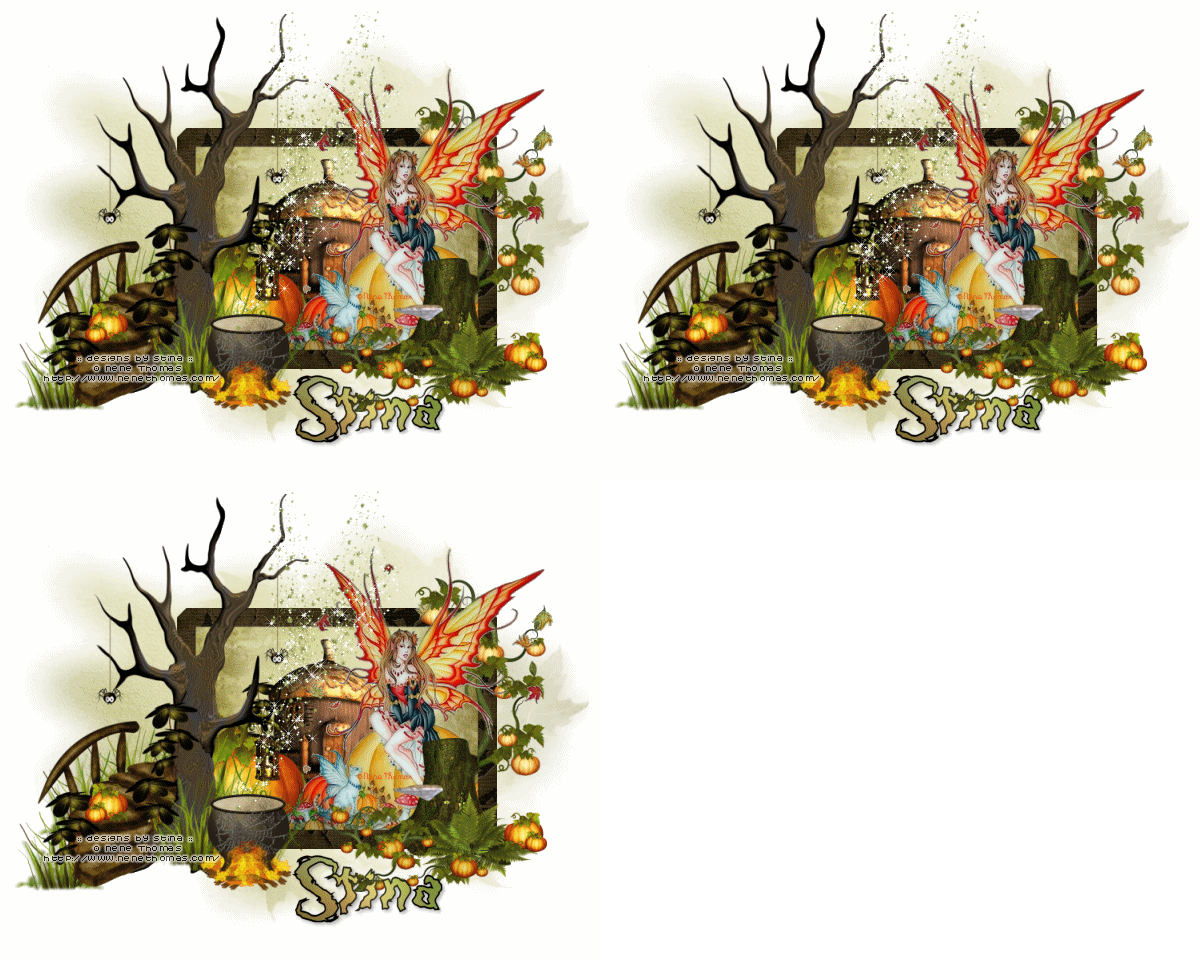
Here is another using a different tube:
© Tutorial written by Stina on 29th October 2011

No comments:
Post a Comment