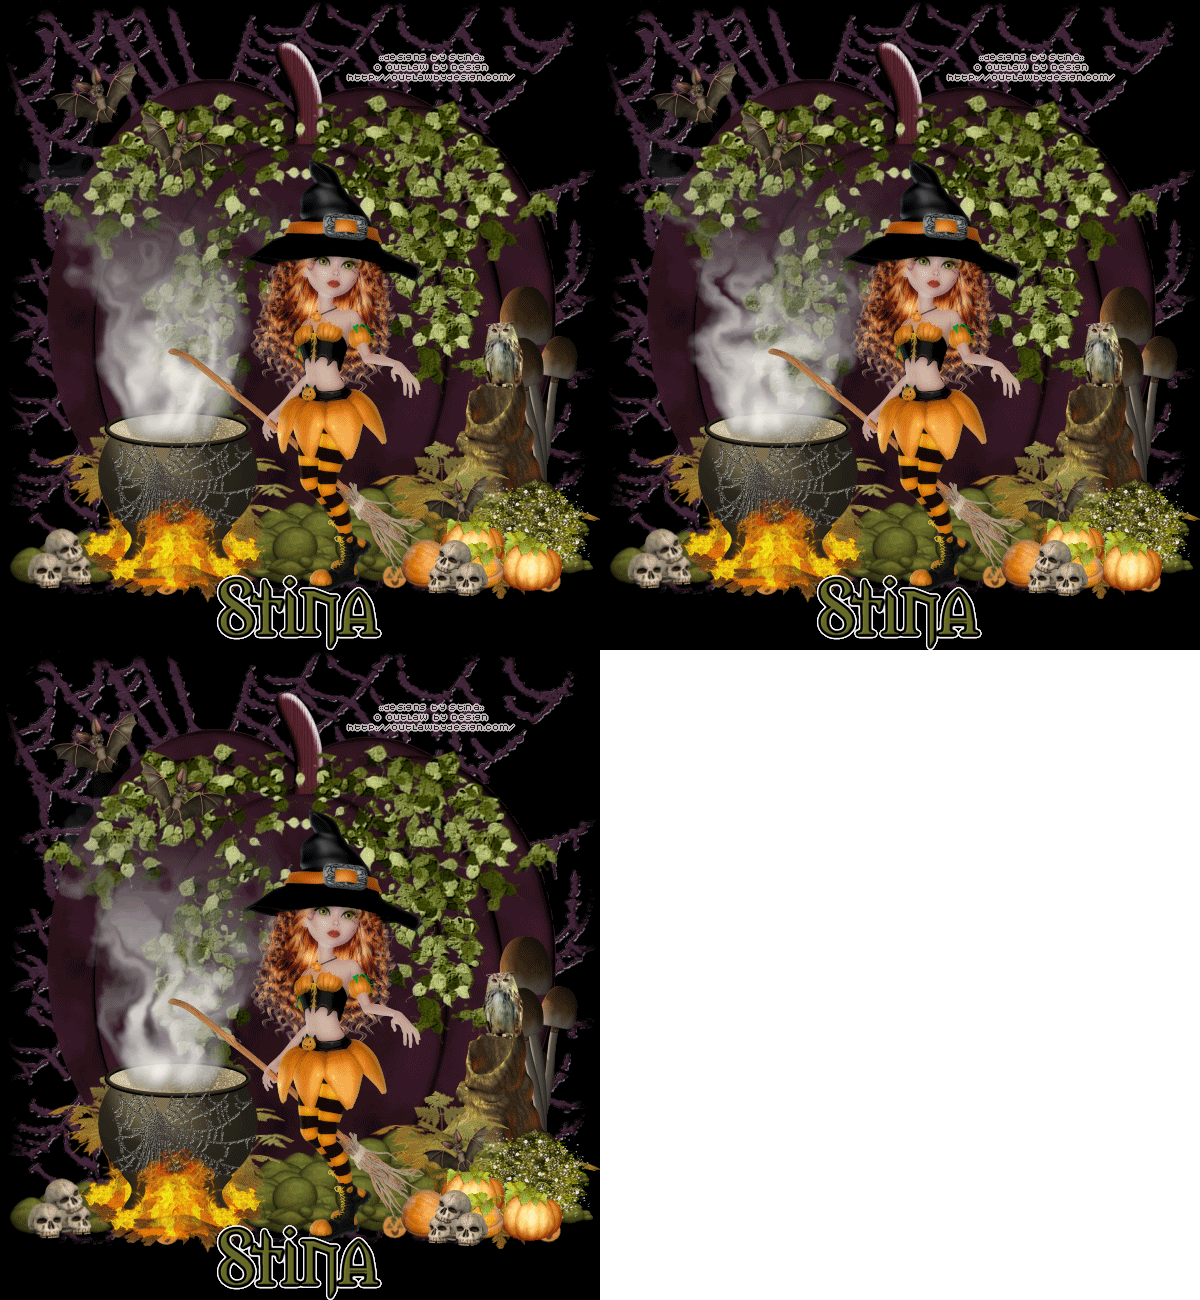
Supplies
Scrap kit of choice - I am using "Witches n' Britches" by Tootypup Scraps available from all her stores listed on her blog
Tube of choice - I am using one of the Membership Posers from the kit by Outlaw by Design
Font of choice - I am using Morpheus
Plugins:
Xero Porcelain
Alien Skin Eye Candy 5: Nature Smoke
Alien Skin Eye Candy 5: Impact Gradient Glow (optional for text)
Open the TP_SpidersWeb_01 or one of your choice
Shift + D to duplicate it and close the original
Resize to 600 x 600
Paste DBS_Pumpkin_01 as new layer
Resize by 70% and leave in position
Paste TP_TreeStump_04 as new layer
Resize by 35%
Position to the right
Paste TP_Halloween_06 as new layer
Resize by 35%
Position along the bottom
Paste TP_Owl_01 as new layer
Erase the log and any excess
Resize by 15%
Position the owl on the tree stump
Paste one the Cauldrons as a new layer
Resize by about 25% and position to the left
Paste TP_InTheWoods_10 (Pumpkins) as new layer
Resize by 25%
Position to the lower right over the skulls (don't worry, we're going to replace them *s*)
Paste TP_Skulls_01 as new layer
Resize by 12% and position in front of the Pumpkins
Paste TP_Bat_02 as new layer
Resize by 25% and position to your liking
Paste a tube of choice as a new layer
You can use one from the kit or one of your own
I used one by Outlaw by Design which is used in the kit
Resize and position to your liking
I then applied the Xero Porcelain filter with the Red, Green and Blue channels set to 0
This gives it a soft look
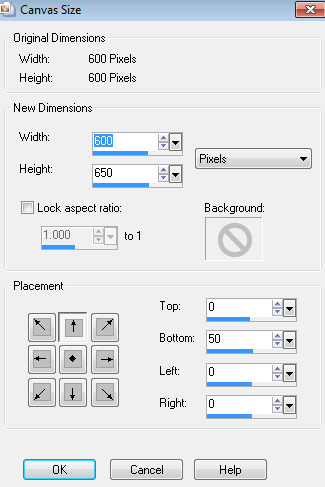
Image / Canvas Size
Width - 600
Height - 650
Placement - Bottom by 50
Select a font of your choice - I am using Morpheus
Type out your name and apply any effects you wish
Add your credits and you're done!
LET'S ANIMATE!!
Activate your Cauldron layer
Add three new raster layers, calling them
Smoke1, Smoke2 and Smoke3
Grab your Freehand Selection tool
Feather - 2
KEEP SELECTED THROUGHOUT THE PROCESS!
Draw out the shape of smoke coming from the cauldron
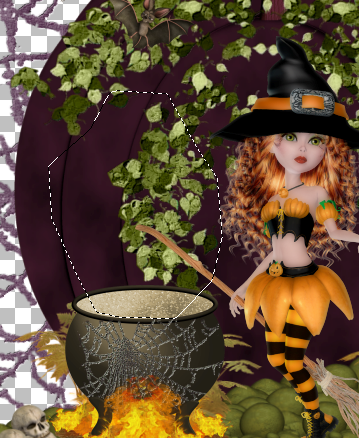
On the Smoke1 layer
Effects / Plugins / Alien Skin 5: Nature / Smoke with the following settings:

Hide Smoke1 and activate Smoke2
Repeat the Smoke effect, adjusting the Random Seed
Hide Smoke2 and activate Smoke3 and repeat the effect again
Deselect
Hide Smoke2 and Smoke3
Activate Smoke1
Edit / Copy Merged
Open Animation Shop
Paste as new animation
In PSP
Hide Smoke2 and activate Smoke3
Edit / Copy Merged
In Animation Shop
Paste after Current frame
Select all
ALT + Enter to open Frame Properties
Change to 20
Save as a GIF and you're done!
Thank you for trying my tutorial
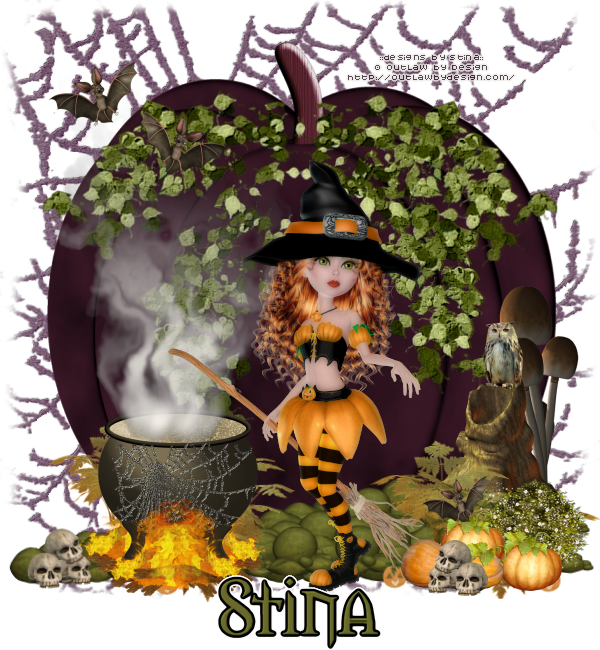
© Tutorial written by Stina on 31st October 2011

No comments:
Post a Comment