
Supplies
Scrap kit of choice - I am using Sam's Scraps part of "An Autumn Romance" collab available from Twilight Scraps
Tubes of choice - I am using the lovely FTU artwork of Lindsay Archer
WSL_Mask41 by Chelle available from her blog
Fonts of choice - I am using 2Peas Rennassiance and 2Peas Mister Giggles
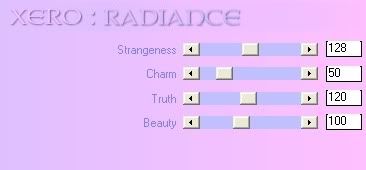
Plugins: Xero > Radiance
dsb Fluxx > Linear Transmission
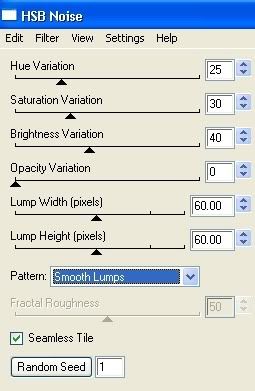
Eye Candy 4000 > HSB Noise
Let's begin...
Open a new 750 x 600 blank canvas flood-filled white
Paste Frayed Fabric as new layer
Leave in position
Leave in position
Paste Frame1 as new layer
Image > Rotate by 90 to the right
Image > Flip
Resize by 65%
Image > Rotate by 90 to the right
Image > Flip
Resize by 65%
With your Freehand Tool make a selection around the wrap on the Frame
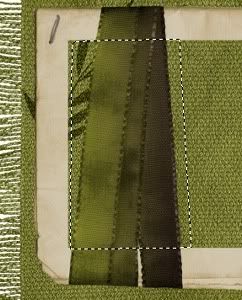
Delete then deselect
Paste Cotton Bow Wrap as new layer
Resize by 60%
Position to the left over where the original wrap was
Resize by 60%
Position to the left over where the original wrap was
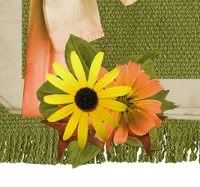
Paste a couple of Flowers as new layers
Resize by 25% - 30%
Position over remaining wrap deleted on Frame
Resize by 25% - 30%
Position over remaining wrap deleted on Frame
Paste some Leaves as new layers
Resize them by around 25% or to your liking
Place them behind the flowers to create a cluster
Apply a drop shadow of choice
Resize them by around 25% or to your liking
Place them behind the flowers to create a cluster
Apply a drop shadow of choice
Paste GemLeaves as new layer
Resize by 55%
Position along bottom of Frame BELOW the Flowers and Leaves
Resize by 55%
Position along bottom of Frame BELOW the Flowers and Leaves
Activate your Frame layer again
Select inside your Frame
Selections > Modify > Expand by 10
Add new raster layer
Layers > Arrange > Move Down
Paste Paper of choice INTO selection
Select inside your Frame
Selections > Modify > Expand by 10
Add new raster layer
Layers > Arrange > Move Down
Paste Paper of choice INTO selection
KEEP SELECTED!!

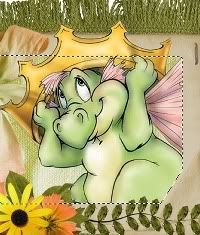
Paste your Tube of choice as new layer
Resize and position as necessary
Resize and position as necessary
I placed mine ABOVE the Frame, then
Selections > Invert
Selections > Modify > Contract by 2
Selections > Modify > Feather by 1
Then erase the excess at the bottom and to one side
Selections > Invert
Selections > Modify > Contract by 2
Selections > Modify > Feather by 1
Then erase the excess at the bottom and to one side
Deselect
If you are using the same tube, I then duplicated the Tube, then
Effects > Plugins > Xero > Radiance with the following settings:
Add a drop shadow:
V - -1
H - -3
O - 30
B - 10.00
Colour - #000000
V - -1
H - -3
O - 30
B - 10.00
Colour - #000000
Paste Scattered Hearts as new layer
Resize by 50%
Position below Flowers and Leaves along the bottom of Frayed Fabric
Resize by 50%
Position below Flowers and Leaves along the bottom of Frayed Fabric
Paste Chicken Wire Heart as new layer
Image > Rotate by 15 to the right
Resize by 30%
Duplicate, then Layers > Merge > Merge Down
Image > Rotate by 15 to the right
Resize by 30%
Duplicate, then Layers > Merge > Merge Down
Position in lower right
Paste Paper of choice as new layer
Layers > Arrange > Send to Bottom
Layers > Arrange > Send to Bottom
Layers > New Mask Layer > From Image
Apply WSL_Mask41
OK
Layers > Merge > Merge Group
Apply WSL_Mask41
OK
Layers > Merge > Merge Group
Resize by 95%
Effects > Plugins > dsb Fluxx > Linear Transmission with the following settings:
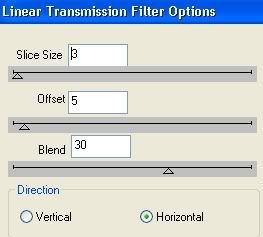
Repeat Linear Transmission changing from Horizontal to Vertical
Crop and resize to liking
Select your Text Tool and font of choice
I am using 2Peas Rennaissance
Colour to match your tag - I am using #2d392b
I am using 2Peas Rennaissance
Colour to match your tag - I am using #2d392b
Type out text of choice
Objects > Align > Horizontal Centre in Canvas
Convert to raster layer
Apply any effects of your choice
Objects > Align > Horizontal Centre in Canvas
Convert to raster layer
Apply any effects of your choice
Select another font of choice
I am using 2Peas Mister Giggles
Foreground - #2d392b
Background - #FFFFFF
Stroke width - 1.5
I am using 2Peas Mister Giggles
Foreground - #2d392b
Background - #FFFFFF
Stroke width - 1.5
Type out your name
Objects > Align > Horizontal Centre in Canvas
Convert to raster layer
Apply drop shadow of choice
Objects > Align > Horizontal Centre in Canvas
Convert to raster layer
Apply drop shadow of choice
Finally, add your © copyright, licence and watermark, then save as a GIF or JPG and you're done!
** IF YOU WISH TO ANIMATE PLEASE FOLLOW THESE NEXT STEPS **
Activate your Mask Layer layer
Duplicate twice and rename Noise1, Noise2 and Noise3
Activate Noise1 and hide the other two
Effects > Plugins > Eye Candy 4000 > HSB Noise with the following settings:
Hide Noise1 and activate Noise2
Repeat Noise effect, adjusting the Random Seed
Repeat Noise effect, adjusting the Random Seed
Hide Noise2 and activate Noise3
Repeat Noise once more, adjusting the Random Seed
Repeat Noise once more, adjusting the Random Seed
Activate Noise1 and hide the other two again
Edit > Copy Merged
Edit > Copy Merged
Open Animation Shop
Edit > Paste as New Animation
Edit > Paste as New Animation
Back to PSP
Hide Noise1 and activate Noise2
Edit > Copy Merged
Hide Noise1 and activate Noise2
Edit > Copy Merged
In Animation Shop
Edit > Paste after Current Frame
Edit > Paste after Current Frame
Back to PSP
Hide Noise2 and activate Noise3
Edit > Copy Merged
Hide Noise2 and activate Noise3
Edit > Copy Merged
In Animation Shop
Edit > Paste after Current Frame
Edit > Paste after Current Frame
Select All, and change the Frame Properties to 20
Now save as a GIF and you're done!
Now save as a GIF and you're done!
Thanks for trying my tutorial!
::st!na::
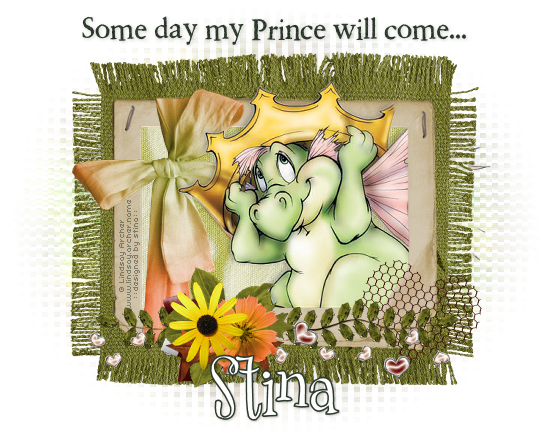
Here is a non-animated version:
© Tutorial written by Stina on 14th August 2009
All rights reserved
No comments:
Post a Comment