

Supplies
Srap kit of choice - I am using "The Pussycat Girls" by Kristi Westling available from The Scrapping Divaz Designz and Sunshine Studio Scraps
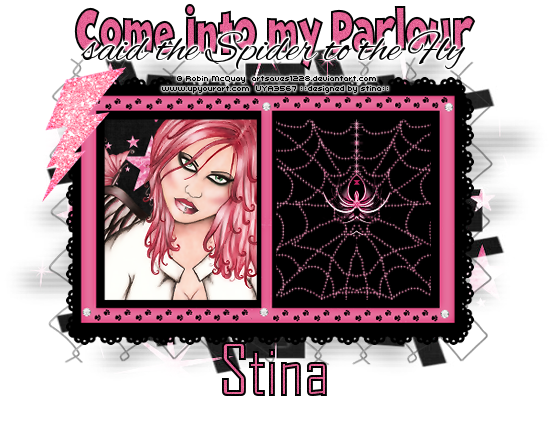
Tube of choice - I am using the lovely artwork of Robin McQuay available with a licence through UpYourArt
**PLEASE DO NOT USE HIS ARTWORK WITHOUT THE APPROPRIATE LICENCE**
WSL_Mask147 by Chelle available from her blog
WSL_Mask147 by Chelle available from her blog
Fonts of choice - I am using CK Retro Block, Alex Brush and AgencyFB
Plugin: dsb Fluxx Bright Noise
Ready? Let's begin...
Open a new 700 x 500 canvas flood-filled white
Paste Frame2 as new layer
Resize by 85%
Resize by 85%
Select the inside of each frame with your Magic Wand
Selections > Modify > Expand by 10
Selections > Modify > Expand by 10
Paste paper of choice AS NEW LAYER
Resize by 50%
Selections > Invert
Delete
Resize by 50%
Selections > Invert
Delete
Layers > Arrange > Move Down
KEEP SELECTED!
Paste tube of choice as new layer
Resize as necessary and position in Frame
Resize as necessary and position in Frame
Paste GlitterWeb as new layer
Resize by 50%
Position within opposite Frame
Resize by 50%
Position within opposite Frame
Paste StarTrail as new layer
Layers > Arrange > Bring to tTop
Resize by 55%
Position to right
Layers > Arrange > Bring to tTop
Resize by 55%
Position to right
Paste LightningBolt1 as new layer
Resize by 70%
Position in upper left
Resize by 70%
Position in upper left
Layers > Merge > Merge Down
(LightningBolt and StarTrail should now be ONE layer)
(LightningBolt and StarTrail should now be ONE layer)
Paste Fence as new layer
Layers > Arrange > Send to Bottom
Resize by 65%
Position in the centre, then
Layers > Arrange > Send to Bottom
Resize by 65%
Position in the centre, then
Select your Pick Tool (Deformation Tool in some versions) and use the nodes to size it to your liking
Lower opacity to 50
Paste Paper of choice as new layer
Layers > Arrange > Send to Bottom
Layers > Arrange > Send to Bottom
Layers > New Mask Layer > From Image
Apply WSL_Mask147
OK
Layers > Merge > Merge Group
Apply WSL_Mask147
OK
Layers > Merge > Merge Group
Crop and resize
Activate top layer
Select your Text Tool and font of choice
I am using CK Retro Ways
Foreground - #000000
Background - #e56294 (or to match tag)
I am using CK Retro Ways
Foreground - #000000
Background - #e56294 (or to match tag)
Stroke width - 2.0
Type out text of choice
Objects > Align > Horizontal Centre in Canvas
Convert to raster layer
Apply drop shadow of choice
Objects > Align > Horizontal Centre in Canvas
Convert to raster layer
Apply drop shadow of choice
Select a script font
Toggle colours in Material Palette and turn off Foreground
Toggle colours in Material Palette and turn off Foreground
Type out Text of choice
Objects > Align > Horizontal Centre in Canvas
Convert to raster layer
Apply a small Gradient Glow in white
Objects > Align > Horizontal Centre in Canvas
Convert to raster layer
Apply a small Gradient Glow in white
Position slightly below block text
Select another font of choice
I am using AgencyFB
Use same colours for Foreground and Background as above
I am using AgencyFB
Use same colours for Foreground and Background as above
Type out your name
Objects > Align > Horizontal Centre in Canvas
Convert to raster layer
Apply drop shadow of choice
Convert to raster layer
Apply drop shadow of choice
Finally, add your © copyright, licence and watermark, then save as GIF or JPG and you're done!
** IF YOU WISH TO ANIMATE PLEASE FOLLOW THESE NEXT STEPS **
Activate your StarTrail/LightningBolt layer
Duplicate twice and rename Noise1, Noise2 and Noise3
Duplicate twice and rename Noise1, Noise2 and Noise3
Hide Noise2 and Noise3 and activate Noise1
Effects > Plugins > dsb Fluxx > Bright Noise with the following settings:
Hide Noise1 and activate Noise2
Apply the Bright Noise again, adjusting the noise to 30
Hide Noise2 and activate Noise3
Apply the Bright Noise again, adjusting the noise to 35
Apply the Bright Noise again, adjusting the noise to 35
Now for the animation!
Activate Noise1 and hide Noise2 and Noise3
Edit > Copy Merged
Edit > Copy Merged
Open Animation Shop
Edit > Paste as New Animation
Back to PSP
Hide Noise1 and activate Noise2
Edit > Copy Merged
Hide Noise1 and activate Noise2
Edit > Copy Merged
In Animation Shop
Edit > Paste AFTER Current Frame
Edit > Paste AFTER Current Frame
Back to PSP
Hide Noise2 and activate Noise3
Edit > Copy Merged
Hide Noise2 and activate Noise3
Edit > Copy Merged
In Animation Shop
Edit > Paste AFTER Current Frame
Edit > Paste AFTER Current Frame
Save as a GIF and you're done!
Thanks for trying my tutorial!
::st!na::
Here is a non-animated version:
© Tutorial written by Stina on 10th June 2009
All rights reserved
No comments:
Post a Comment