
Supplies
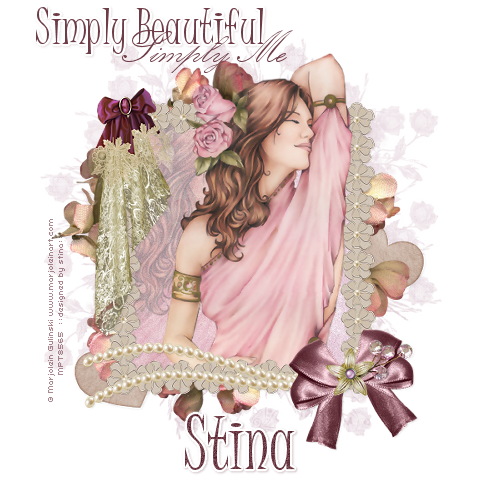
Scrap kit of choice - I am using the gorgeous "Simply Me" kit by Chantal of ChaDesigns which is available from Cotton Candy Kreations
Tube of choice - I am using the lovely artwork of Marjolein Gulinski which can be purchased from My PSP Tubes
**PLEASE DO NOT USE HER ARTWORK WITHOUT THE APPROPRIATE LICENCE**
WSL_Mask226 by Chelle available from her blog
Plugins: Xero Improver and Xero Radiance
Plugin: Eye Candy 4000 Gradient Glow
Fonts of choice - I am using Juice ITC and Kunstler Script
Ready? Let's begin!
Open a new 700 x 700 blank canvas flood-filled white
Paste Frame3 as new layer
Resize by 18%
Resize by 18%
Use your Magic Wand to select the inside of the frame
Selections > Modify > Expand by 10
Add a new raster layer
Layers > Arrange > Move Down
Paste Paper10 INTO selection
Deselect
Selections > Modify > Expand by 10
Add a new raster layer
Layers > Arrange > Move Down
Paste Paper10 INTO selection
Deselect
Paste Flower7 as new layer
Layers > Arrange > Move Down (so it is below the paper just pasted)
Resize by 12%
Layers > Arrange > Move Down (so it is below the paper just pasted)
Resize by 12%
Activate top layer
Paste Flower2 as new layer
Resize by 12%
Position in centre of bow
Resize by 12%
Position in centre of bow
Paste Leaf as new layer
Image > Flip
Image > Rotate by 30 to the left
Resize by 5%
Position BENEATH flower
Then using your Eraser Tool erase the excess branch and leaves
Image > Flip
Image > Rotate by 30 to the left
Resize by 5%
Position BENEATH flower
Then using your Eraser Tool erase the excess branch and leaves
Paste Lace Draperies as new layer
Resize by 9%
Position in upper left
Resize by 9%
Position in upper left
Paste Bow2 as new layer
Resize by 5%
Position in upper left corner securing Draperies
Resize by 5%
Position in upper left corner securing Draperies
Paste HeartTag as new layer
Image > Rotate by 30 to the right
Resize by 8%
Position to the right
Layers > Arrange > Send to Bottom
Place in position
Duplicate, then
Image > Rotate by 30 to the right
Resize by 8%
Position to the right
Layers > Arrange > Send to Bottom
Place in position
Duplicate, then
Adjust > Hue & Saturdation > Colourise with the following settings:
Lower opacity to 50
Layers > Merge > Merge Down
Layers > Merge > Merge Down
Duplicate again, then
Image > Mirror
Position in lower left corner
Image > Mirror
Position in lower left corner
Activate Frame layer
With your Magic Wand select the inside of the Frame
Selections > Modify > Expand by 10
With your Magic Wand select the inside of the Frame
Selections > Modify > Expand by 10
Paste your tube as new layer
Layers > Arrange > Move Down
Position off to the left
Selections > Invert
Delete
Lower opacity to around 40 or one to your liking
Layers > Arrange > Move Down
Position off to the left
Selections > Invert
Delete
Lower opacity to around 40 or one to your liking
KEEP SELECTED!!
Paste your tube again
Resize as necessary
Position slightly to the right
Resize as necessary
Position slightly to the right
Effects > Plugins > Xero > Improver with the following settings:
Effects > Plugins > Xero > Radiance with the following settings:
Duplicate layer
Layers > Arrange > Bring to Top
Turn off visibility of top layer
Layers > Arrange > Bring to Top
Turn off visibility of top layer
Go back to layer we were working on
Delete then deselect
Activate top layer
Use your Selection Tool to draw out a rectangle around the bottom half of the tube
Paste Paper12 as new layer
Resize by 17%
Layers > Arrange > Send to Bottom
Resize by 17%
Layers > Arrange > Send to Bottom
Layers > New Mask Layer > From Image
Locate WSL_Mask226
OK
Layers > Merge > Merge Group
Lower opacity to your liking
Locate WSL_Mask226
OK
Layers > Merge > Merge Group
Lower opacity to your liking
Activate top layer again
Select your Text Tool and font of choice
I am using Juice ITC
Choose a colour to complement your tag
I am using Juice ITC
Choose a colour to complement your tag
Set your Material Palette:
Foreground - null
Background - colour of choice
Foreground - null
Background - colour of choice
Type out your text and place in position
Convert to raster layer
Apply a slight gradient glow and drop shadow
Convert to raster layer
Apply a slight gradient glow and drop shadow
I then selected a script font to type out a complementary phrase then converted to raster layer
Select another font of choice (or use same)
Type out your name
Objects > Align > Horizontal Centre in Canvas
Convert to raster layer
Add some noise
Apply a gradient glow then the following drop shadow:
Type out your name
Objects > Align > Horizontal Centre in Canvas
Convert to raster layer
Add some noise
Apply a gradient glow then the following drop shadow:
H & V - 1
Opacity - 30
Blur - 3.00
Colour - #6e3c46
Opacity - 30
Blur - 3.00
Colour - #6e3c46
Finally, add your © copyright, licence and watermark then save as a GIF or JPG and you're done!
Thank you for trying my tutorial!
::st!na::
© Tutorial written by Stina on 19th April 2009
All rights reserved
No comments:
Post a Comment